How To Replace American Standard Toilet Seat With Hidden Bolts
American Standard toilet seats can include helpful features such as slow-close lids, secure hinge systems, and quick-release designs. If you are trying to clean, repair, or replace a toilet seat, hidden bolts can make the job confusing at first. The good news is that many toilet seats can be removed with basic tools once you understand where the fasteners are located.
This guide explains how to replace an American Standard toilet seat with hidden bolts, how to work with plastic hinge caps or quick-release hinges, and what to do if the hardware is stuck. If you are comparing replacement toilets or related bathroom products, Allied Plumbing & Heating Supply can also help you browse American Standard toilets, toilets for sale in Chicago, and other bathroom fixtures.
Replacing an American Standard Toilet Seat With Hidden Bolts
Whether you are deep cleaning the toilet or replacing a cracked seat, hidden bolts can make removal feel more difficult than it needs to be. In many cases, the bolts are concealed beneath plastic caps or hidden under a quick-release hinge cover. With a few tools and a careful approach, you can remove the existing seat and prepare the toilet for a replacement.
Before starting, review the toilet seat style and hinge design. If the seat uses a quick-release system, the removal process may be different from a traditional hinge with visible caps.
What You’ll Need
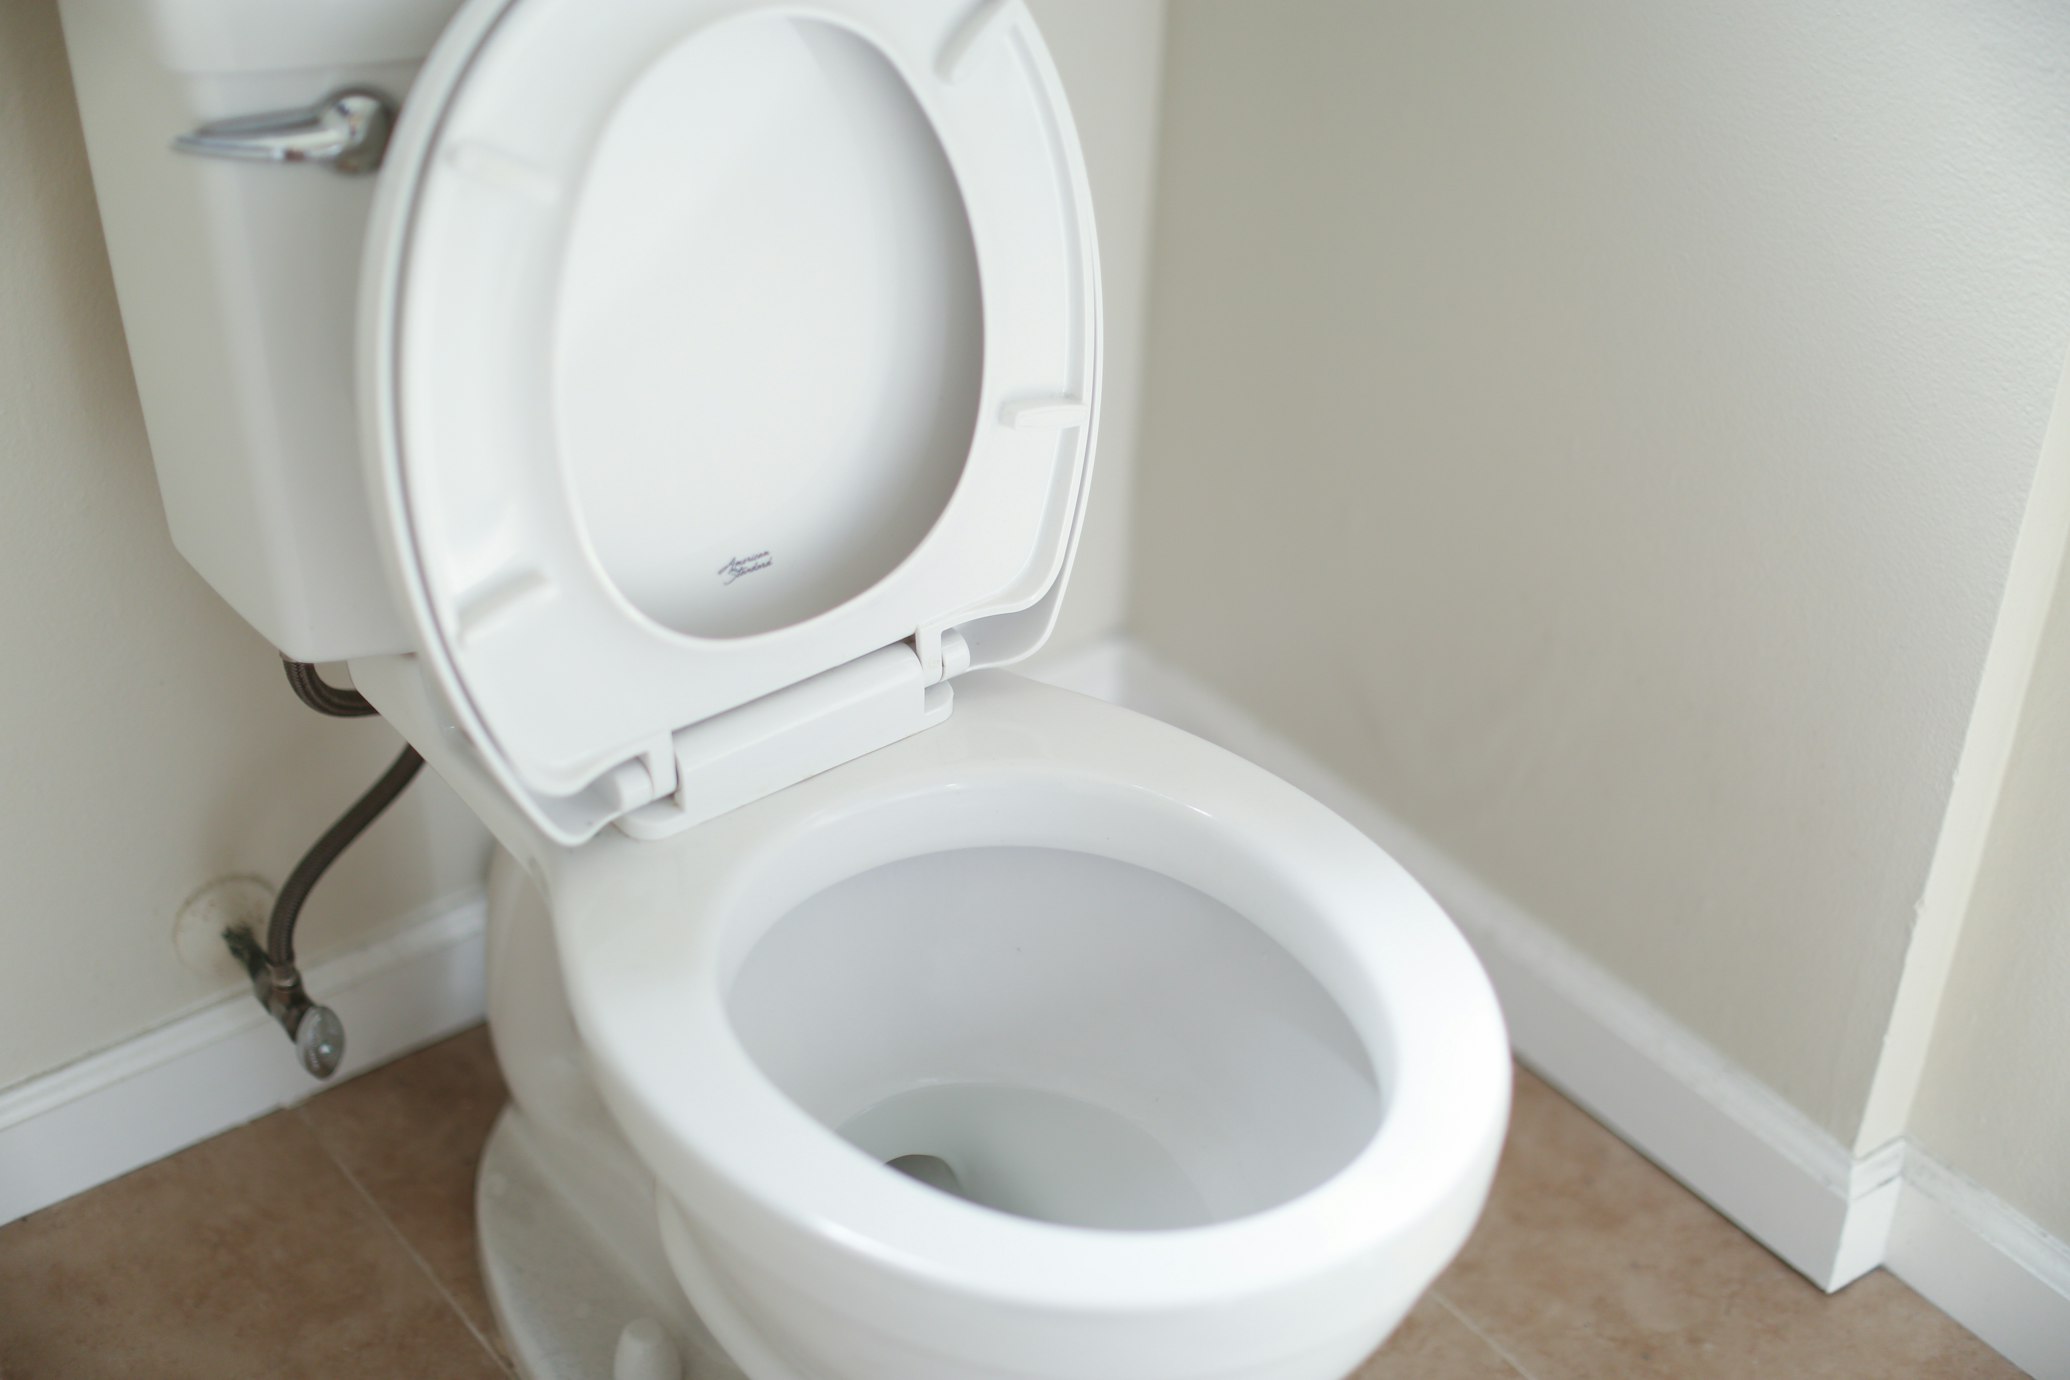
Regardless of your toilet seat shape, the hinges are located at the back of the toilet seat. For safety and appearance, the bolts are often covered by plastic caps. Some American Standard toilet seats may also use hidden bolts beneath the seat or quick-release hinges that need to be disengaged first.
Gather these tools before removing the seat:
- Protective gloves.
- Disinfecting cleaner.
- Sponge or microfiber cloth.
- Masking or duct tape.
- Flathead screwdriver.
- Socket wrench or pair of pliers.
How to Remove a Toilet Seat With Hidden Fixings
Follow these steps to remove a toilet seat with hidden bolts or concealed hinge hardware:
- Clean the area first. Put on protective gloves, then clean around the toilet seat and hinges with disinfecting cleaner and a sponge or microfiber cloth.
- Secure the lid and seat. Use masking or duct tape to hold the toilet seat and lid together in the closed position. This helps keep the seat from moving while you work.
- Identify the hinge type. Check whether the hinges have plastic caps, exposed screws, or quick-release buttons. If plastic caps cover the hinges, use a flathead screwdriver to gently lift the caps.
- Loosen the top screw. Once the hinge cap is open, use the flathead screwdriver to loosen the plastic or metal screw. Apply steady pressure to avoid stripping the screw head.
- Loosen the nut underneath. If the screw is too tight, check the underside of the toilet for a wing nut or bolt. Loosen it by hand, with pliers, or with a socket wrench.
- Remove the hardware and lift the seat. Place screws, nuts, and bolts on a secure surface so they do not get lost. Lift off the toilet seat or remove the hinges completely.
Removal and Replacement Instructions for Toilet Seat Hinges With Plastic Caps
If the hinges have plastic caps, gently lift each cap to reveal the screw beneath. The screw usually passes through the hinge and toilet bowl, with a nut or bolt underneath securing it in place. Loosen the screw from the top while holding or loosening the nut below as needed.
To install the replacement seat, place the new seat on top of the toilet and align the hinges with the mounting holes near the tank. Feed each screw through the hinge and toilet, then fasten the nut underneath. Tighten the hardware carefully with a screwdriver, socket wrench, or pliers, then close the plastic hinge caps.
Removal and Replacement Instructions for Toilet Seats With Quick-Release Hinges
Some toilet seats use quick-release hinges. If your seat has chrome buttons or release tabs near the hinges, press them to lift the seat away from the mounting posts. This should reveal the hinge covers or mounting hardware underneath.
After removing the covers, loosen the screws and nuts that secure the hinge posts to the toilet. To install the replacement seat, align the new hinge posts with the mounting holes, secure the hardware, then attach the seat according to the quick-release mechanism.
How to Remove a Stubborn Toilet Seat
Replacing a toilet seat with hidden fixings is often straightforward, but older seats may be harder to remove if the hardware is corroded, overtightened, or difficult to reach. If the seat does not loosen easily, gather a few additional tools:
- Penetrating oil.
- Putty knife.
- Mini hacksaw.
Spray Penetrating Oil on Rusted Bolts
Penetrating oil can help loosen corroded metal hardware. Follow the product instructions, allow the oil time to work, then try loosening the nut or bolt again with pliers or a socket wrench.
Use a Hacksaw and Putty Knife Carefully
If the hardware still will not move, a mini hacksaw may be needed. Place a putty knife or similar protective barrier between the hardware and the porcelain to help reduce the chance of scratches. Carefully cut through the rusted hardware, then remove the old seat and clean the mounting area before installing the replacement.
When Should You Replace the Whole Toilet?
Sometimes a toilet seat replacement is enough. In other cases, it may be worth comparing a new toilet if the bowl is cracked, the fixture is unstable, the toilet is difficult to clean, or the flushing performance no longer meets your needs. Customers planning a larger bathroom update may also want to compare toilet styles, bowl shapes, flushing systems, and matching bathroom fixtures.
Allied PHS offers resources for American Standard toilets, broader bathroom toilets, and related bathroom showroom products.
Shop American Standard Toilets and Bathroom Fixtures
Replacing a toilet seat with hidden fixings can be manageable with the right tools and a patient approach. If you are updating more than the seat, Allied Plumbing & Heating Supply can help you compare American Standard toilets, bathroom fixtures, and showroom products for your project.
Browse American Standard products, view American Standard toilets, explore toilets for sale in Chicago, or contact Allied PHS for product availability questions.
American Standard Toilet Seat Replacement FAQ
How do I remove an American Standard toilet seat with hidden bolts?
Look for plastic hinge caps, quick-release buttons, or mounting hardware underneath the back of the toilet seat. Open the caps or release the hinges, then loosen the screws and nuts that hold the seat in place.
What tools do I need to replace a toilet seat with hidden fixings?
Common tools include protective gloves, disinfecting cleaner, a microfiber cloth, tape, a flathead screwdriver, pliers, and a socket wrench. Stubborn or rusted hardware may require penetrating oil or a mini hacksaw.
Why will my toilet seat bolts not loosen?
Toilet seat bolts may become stuck because of rust, mineral buildup, overtightening, or age. Penetrating oil and careful pressure may help loosen the hardware.
Can I replace only the toilet seat instead of the whole toilet?
Yes. If the toilet bowl and tank are still in good condition, replacing only the seat may be enough. If the toilet is cracked, unstable, or no longer performs well, it may be worth comparing replacement toilets.
Where can I shop American Standard toilets in Chicago?
Chicago-area customers can browse American Standard toilets and related bathroom fixtures through Allied Plumbing & Heating Supply Co.
Photo Credit: Image by Giorgio Trovato is licensed with Unsplash License.


