How To Install a Kitchen Sink Yourself
A kitchen sink plays an essential role in cooking and cleaning and the room’s overall appearance; you want one that meets your needs and design preferences. The most popular style of kitchen sink is the drop-in sink, also known as the top-mount sink. It comes in various styles and is relatively easy to install if you have the right resources. What’s more, kitchen sink installation can be a fun DIY project that you can knock out in under a day.
If you’re thinking about swapping out your kitchen sink for something new, we’ve created this easy-to-follow guide on how to install a kitchen sink. Let’s help you refresh the look of your kitchen and improve its utility while skipping the need to hire a costly professional.
Tools and Materials for Installing a Drop-In Kitchen Sink
Before you start, you should ensure you have the tools and materials necessary to proceed with the project. We recommend having the following on hand:
- Tape measure.
- Channel-lock pliers.
- Bucket.
- Utility or putty knife.
- Screwdriver and/or wrench.
- Caulking gun and caulk.
- Jigsaw (optional).
- Replacement sink clips.
We also suggest enlisting someone’s help. They don’t have to be DIY-savvy; they just need to be present. With their assistance, you can install your new sink quickly and smoothly.
How To Install a Drop-In Kitchen Sink in 7 Steps
Measure the Existing Sink and Cabinet Space
The easiest way to install a new sink is to work with your existing measurements. To measure your current drop-in sink, take your tape measure and stand over your sink. First, measure from the left to right edge to determine its length. Then, measure from the back edge to the front edge to determine its width. Measure twice for accuracy and record the measurements.
Next, you’ll need to measure the cabinet space below the sink to understand what it can accommodate. Measure from the back to the front of the cabinet to determine its depth and from left to right to determine its width. Then, subtract 1 inch from the depth and 4 inches from the width to calculate the allowable sink dimensions. Again, record the measurements.
Refer to the dimensions for the sink and the cabinet space when purchasing your new drop-in kitchen sink.
Shut Off the Water Supply
When you’re ready to start the installation, shut off the water supply to the kitchen sink, clear out the cabinet under the sink, and locate the shutoff valve, which should be on the piping that leads to the faucet. To shut it off, twist the valve a quarter turn so it’s perpendicular to the supply line. If you have two valves, one for hot and cold water, shut off both.
If your sink doesn’t have shutoff valves, you must turn off the main water line to your home. This is usually located in the basement, crawlspace, or garage.
After you’ve shut off the water supply, we recommend running the faucet to drain any water remaining in the lines.
Disconnect the Lines
Locate the nuts that connect the hot and cold water lines to the faucet. Using channel-lock pliers, loosen these nuts. Do the same for the drainpipe and the P-trap. Place a bucket underneath to catch any water that hasn’t drained.
Remove the Old Sink
Use a utility or putty knife to cut through the caulk attached to your existing sink. Be careful not to cut into the countertop as you do this. Next, find the sink clips attaching the existing sink from underneath. Loosen or remove the clips with a screwdriver or wrench. Then, push the sink from underneath to remove it from the frame. If you’re working with a partner, have them lift the sink as you push it. Place it out of the way.
Insert the New Sink
Apply caulk to the underside of your new drop-in sink, along its edges. Carefully lower it into the opening. A partner can help with this. Wipe away any excess caulk that squeezes out, then attach the sink clips. You can reuse any of the old ones that are in good condition. Otherwise, use replacement clips.
If you’ve measured carefully and made sure to purchase a new sink that fits the dimensions of the space, it should fit appropriately. If the space is too small, use your tape measure to determine how much more space you need, then use a jigsaw to widen the opening.
Install the Faucet and Drain Strainer
Whether you’re using your old faucet or a new one, you’ll need to feed it through the appropriate opening in the sink and secure it with washers and nuts. As for the drain strainer, attach a coil of plumber putty to the underside rim and firmly press the strainer into place. Remove any excess putty that squeezes out up top.
Install the Faucet and Reconnect the Components
Reconnect the water supply lines, drainpipe, and P-trap you disconnected in step 3. Turn the faucet on and see whether there are leaks. Should you find any, try tightening or replacing the related components.
Finally, clean up any water, debris, and dust around your work area and admire your hard work.
Get in Touch With Allied Plumbing & Heating Supply Co
If you follow the steps above, you have every reason to feel confident in installing a new kitchen. Remember that patience and care are your secret tools. Taking the time to get accurate measurements goes a long way toward achieving a successful installation.
If you need professional support, contact us at Allied Plumbing & Heating Supply Co. We’ve been a trusted source for name-brand plumbing supplies in Northwest Chicago for over three decades, so we know what it takes to carry out a DIY project. Message us online or call 773-777-2670 to discover how we can help.
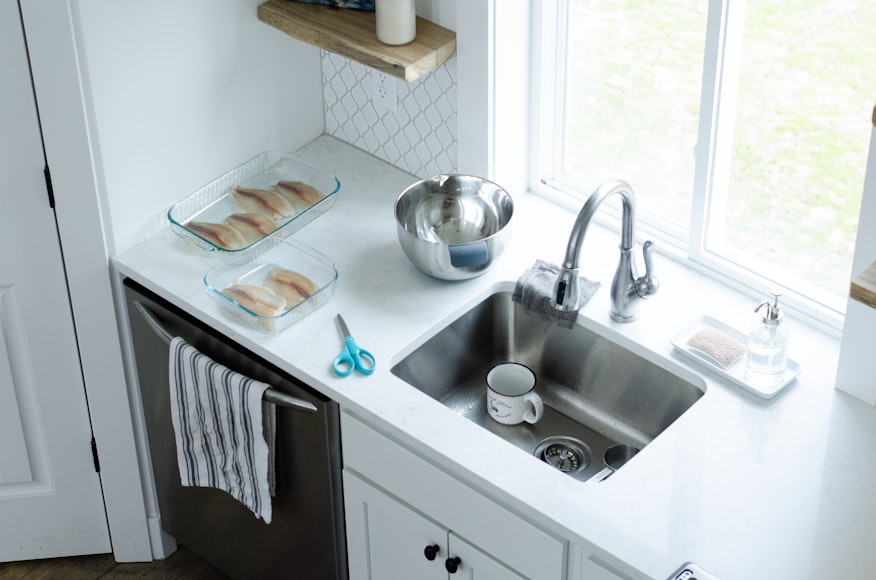
Photo Credit: sink beside bowl by Taylor Flowe is licensed with Unsplash License

